Email Setup: iPhone / iPad (iOS)
Setup Email on iOS
If you have an Enhanced mailbox, you can use ActiveSync to sync email, calendars, and contacts. If you only need email, IMAP also works well.
IMAP Setup for iOS
- Open Settings.
- Go to Mail.
- Tap Accounts.
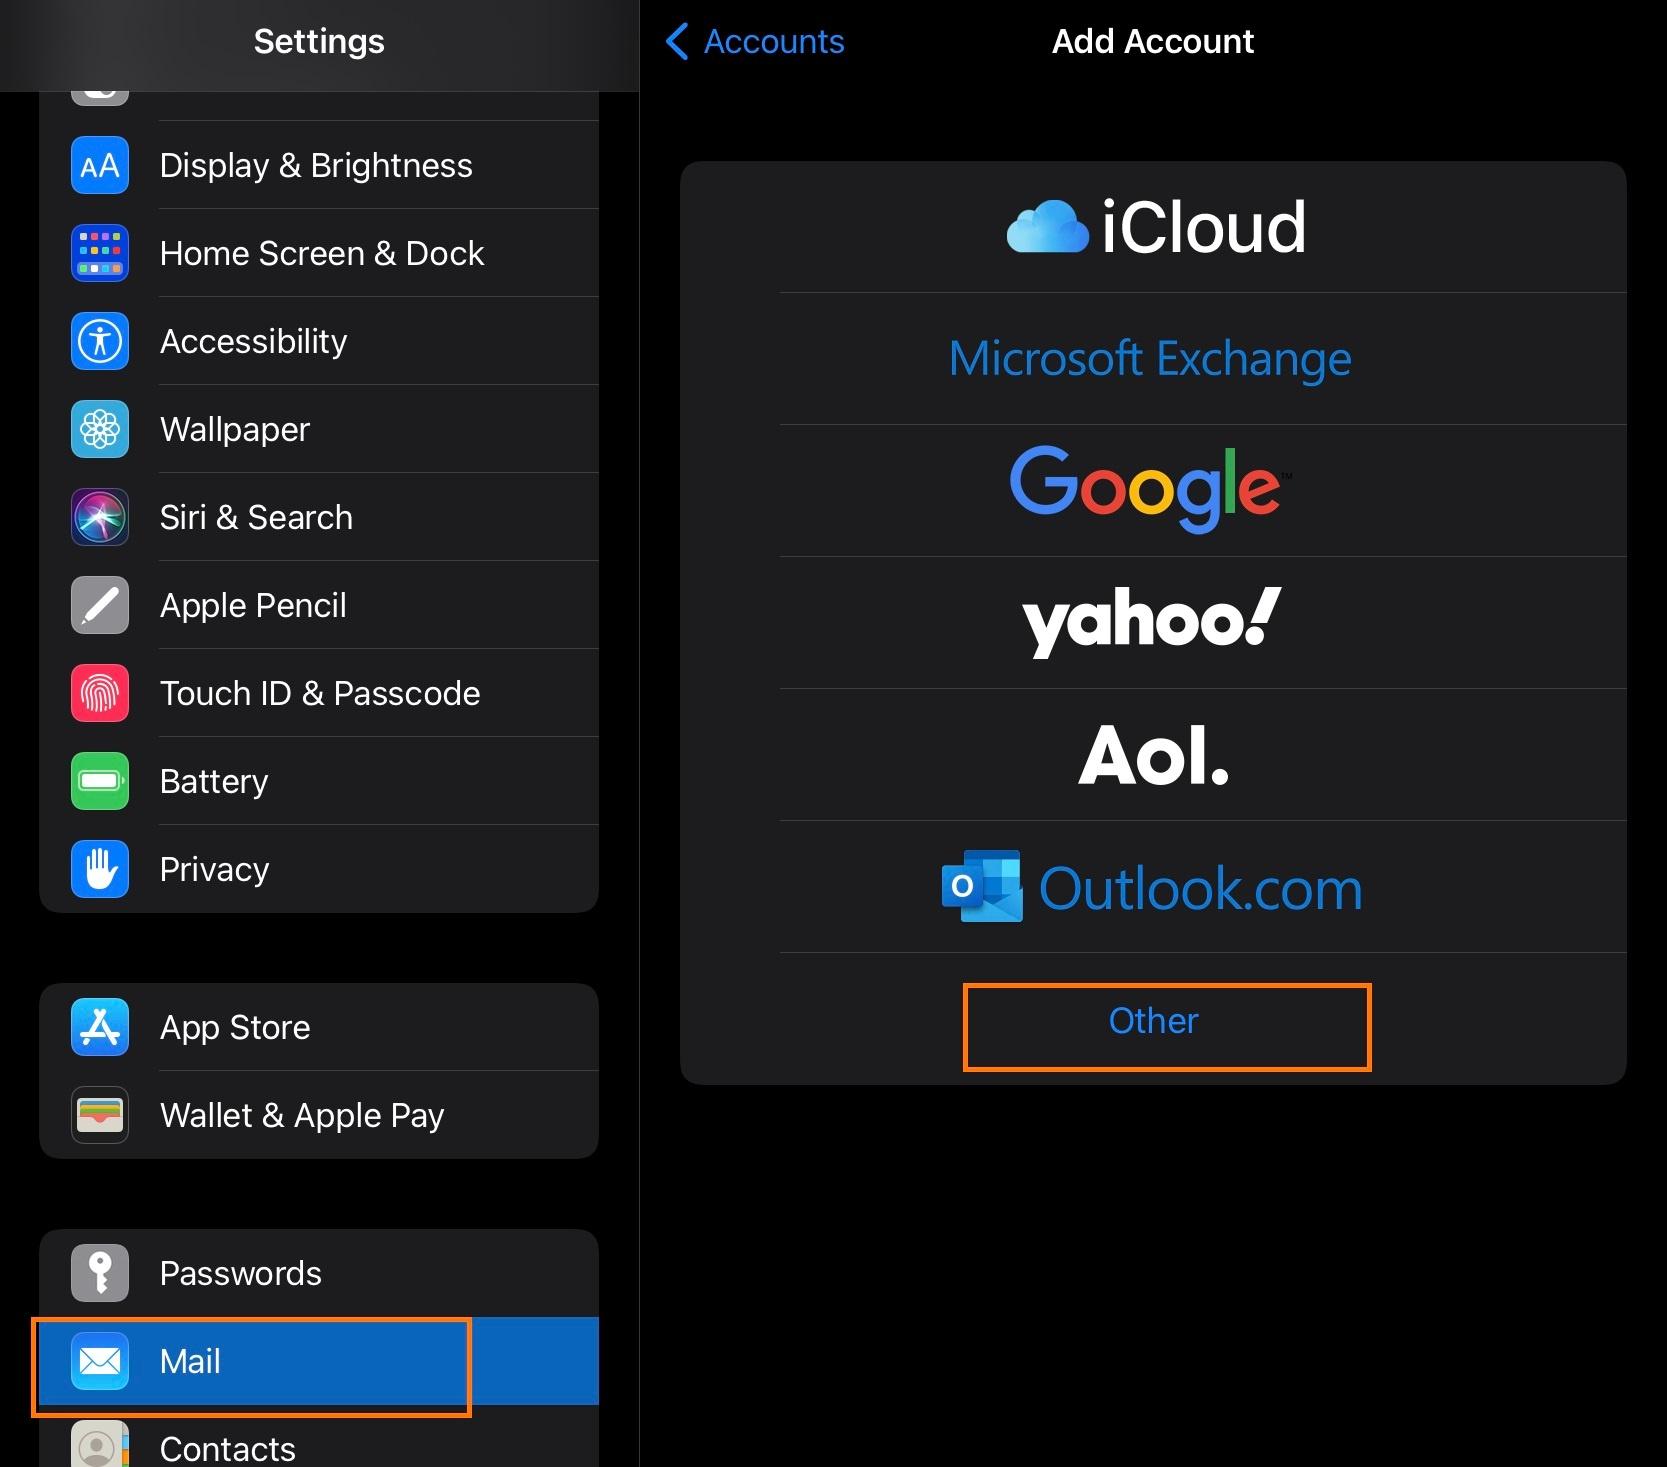
- Tap Add Account.
- Tap Other.
- Tap Add Mail Account.
- Enter:
- Name: the display name you want on outgoing mail
- Email: your full email address
- Password: your mailbox password
- Description: any account label you want
- Tap Next.
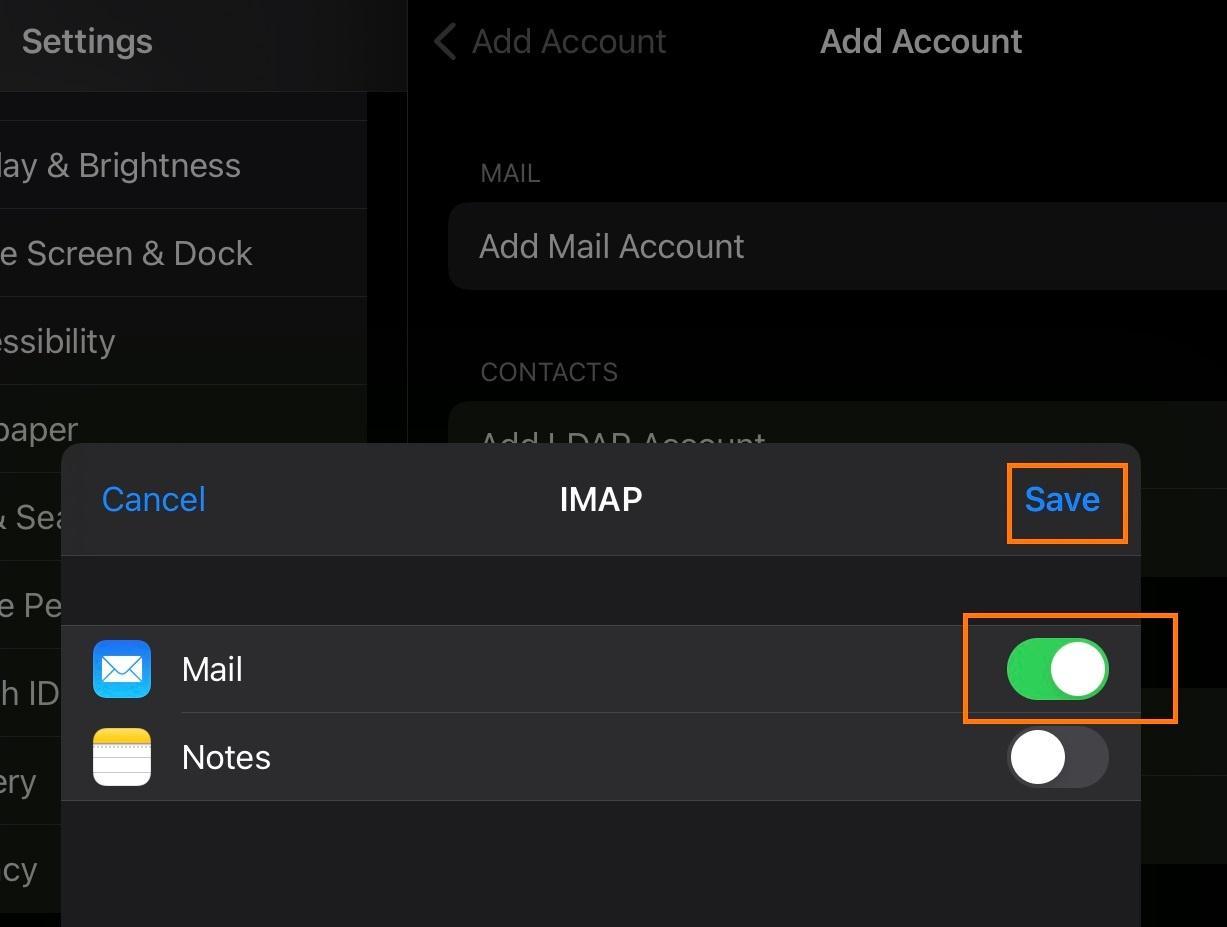
- Make sure IMAP is selected.
- Under Incoming Mail Server, enter:
- Host Name:
imap.emailarray.com - User Name: your full email address
- Password: your mailbox password
- Host Name:
- Under Outgoing Mail Server, enter:
- Host Name:
smtp.emailarray.com - User Name: your full email address
- Password: your mailbox password
- Host Name:
- Tap Next.
- Tap Save.
Note: IMAP is preferred over POP because it keeps folders synchronized across devices.
Example Setup for iOS