Email Setup: eM Client
Setup Email on eM Client (IMAP)
eM Client supports both automatic discovery and manual configuration.
If you have an Enhanced mailbox, eM Client can also sync calendars with CalDAV and contacts with CardDAV.
Option 1: Automatic Setup
- Open eM Client.
- Go to Menu > Accounts.
- Click Add Account.
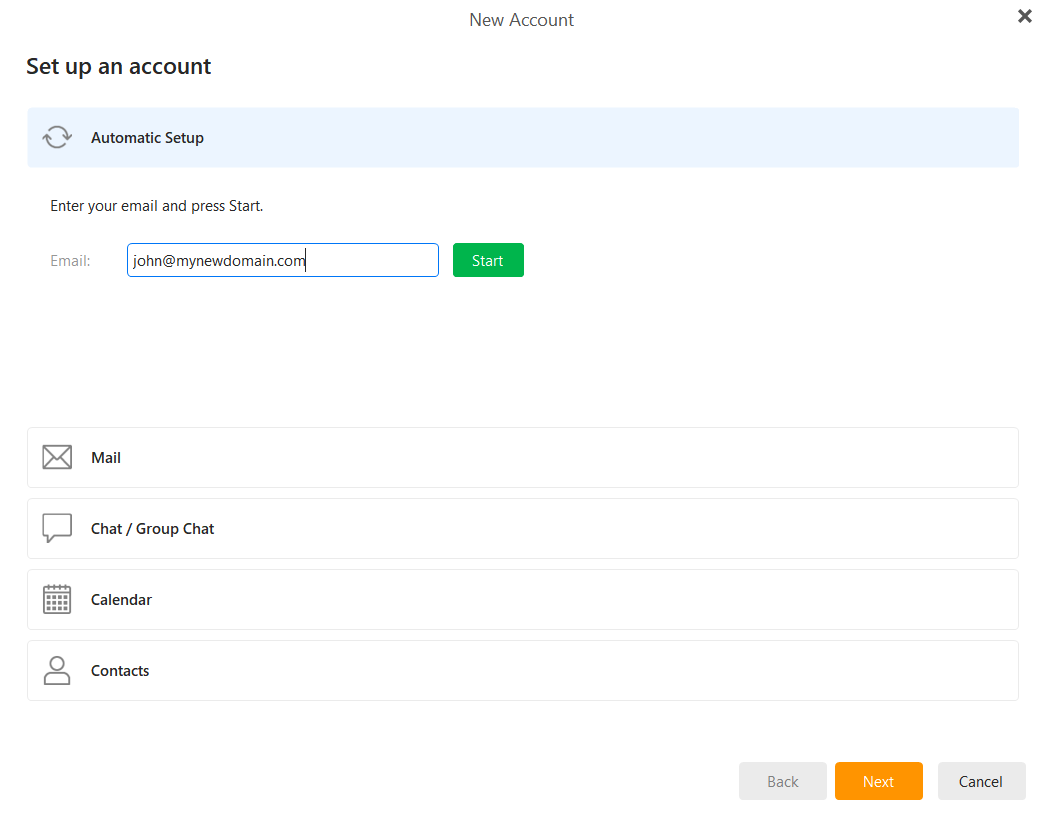
- In the automatic setup section, enter your full email address and click Start.
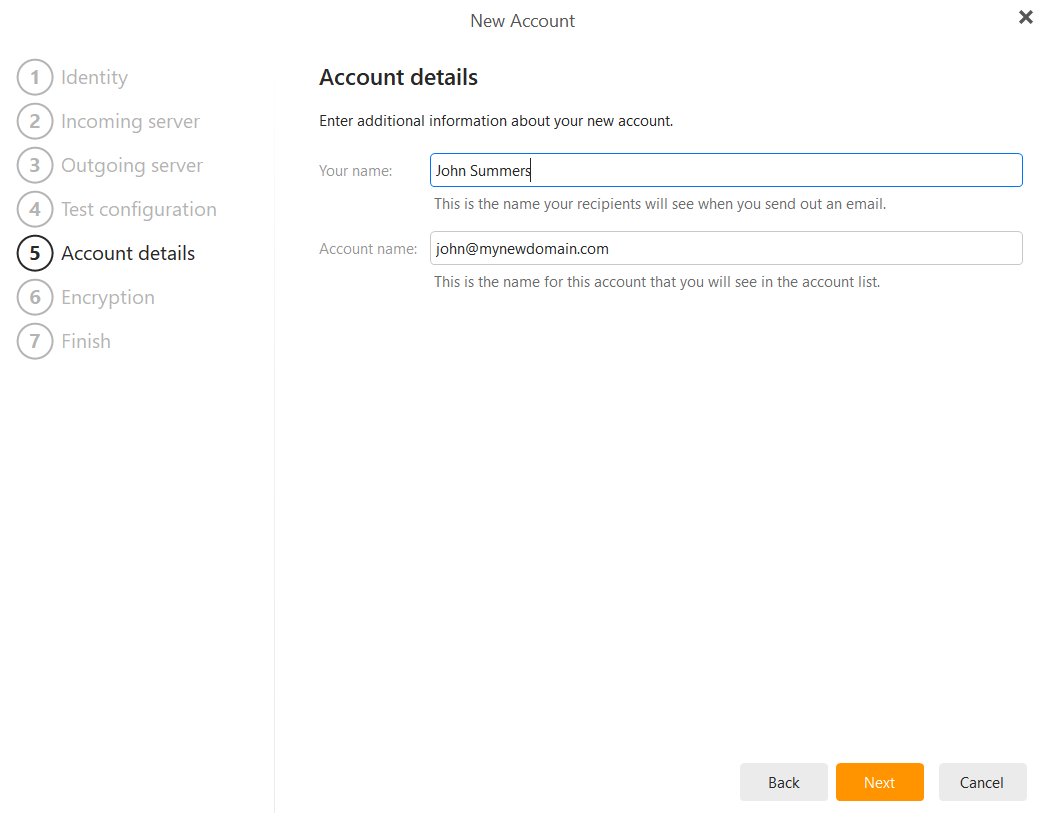
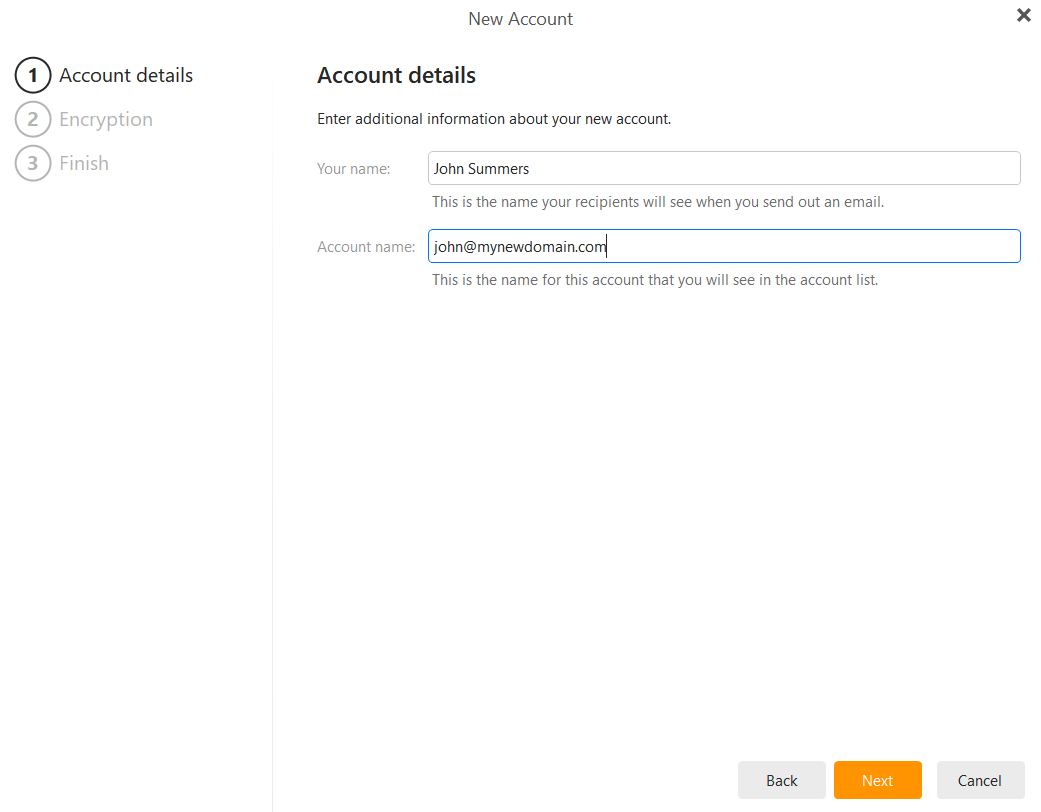
- Enter the sender name you want recipients to see.
- Enter an internal account name if desired.
- Click Next.
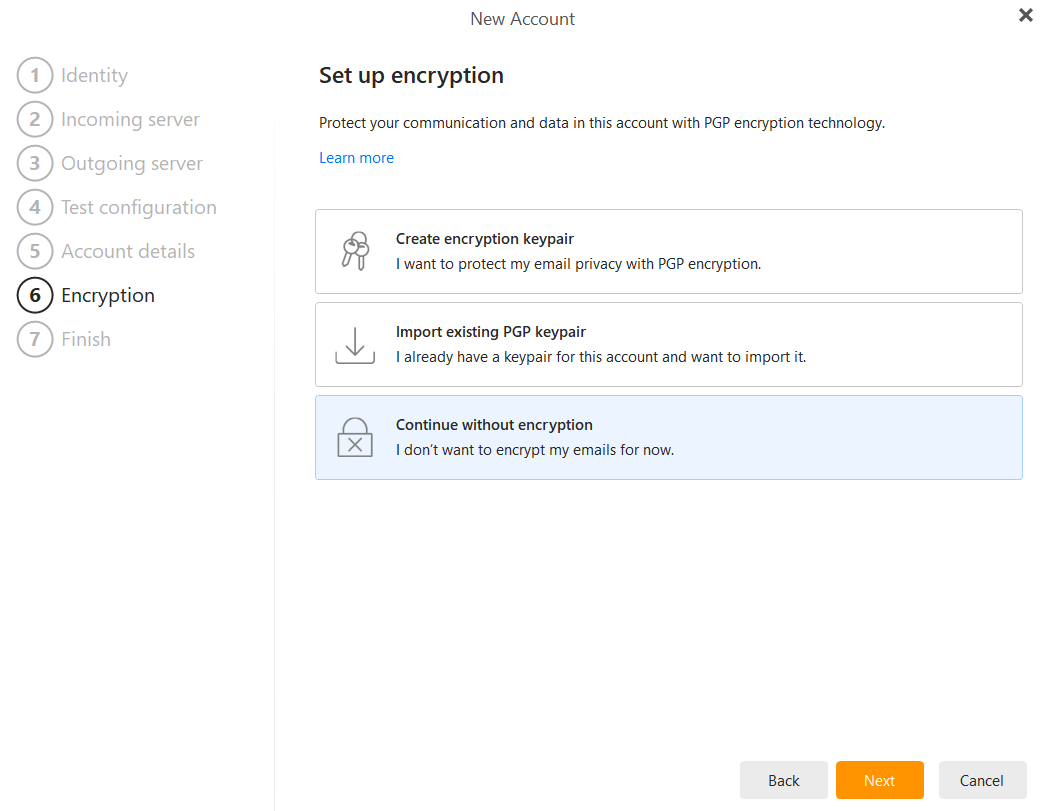
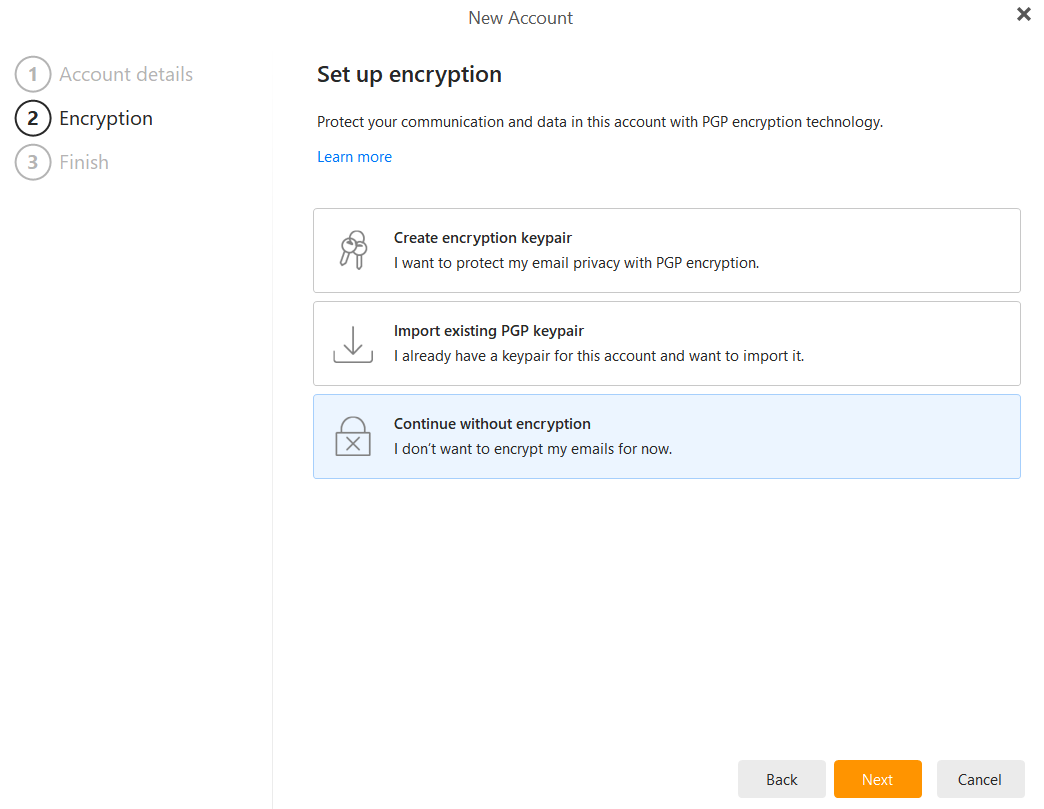
- When asked about PGP, choose Continue without encryption unless you specifically use it.
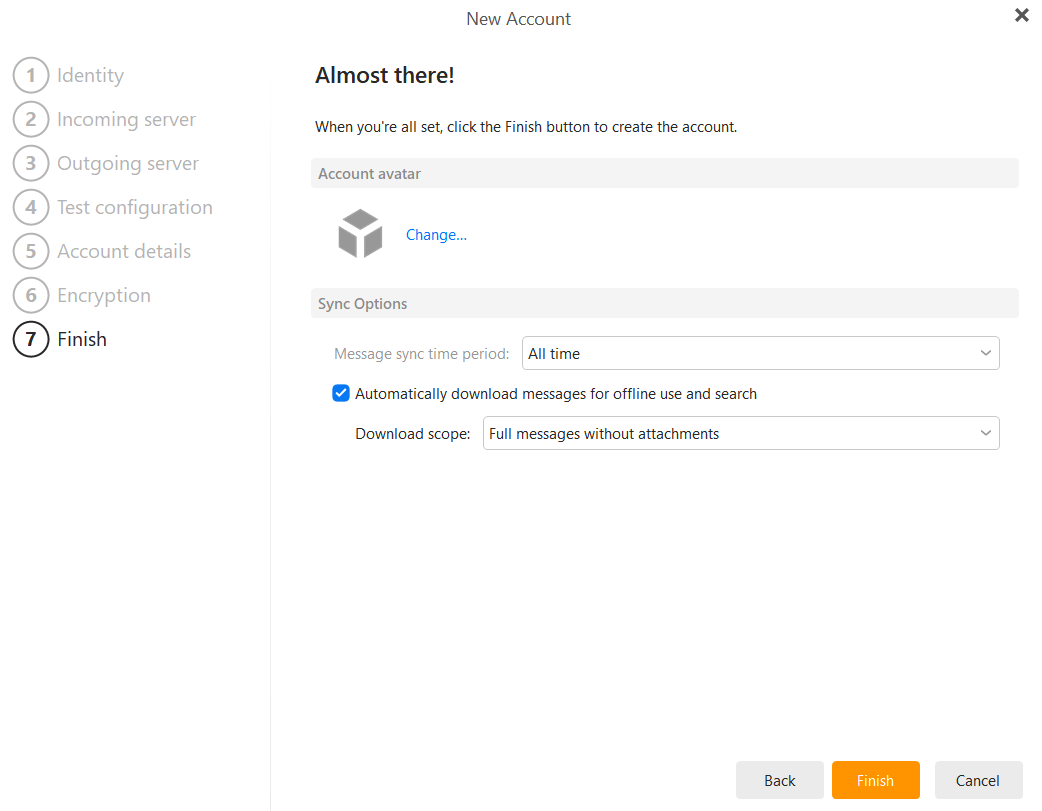
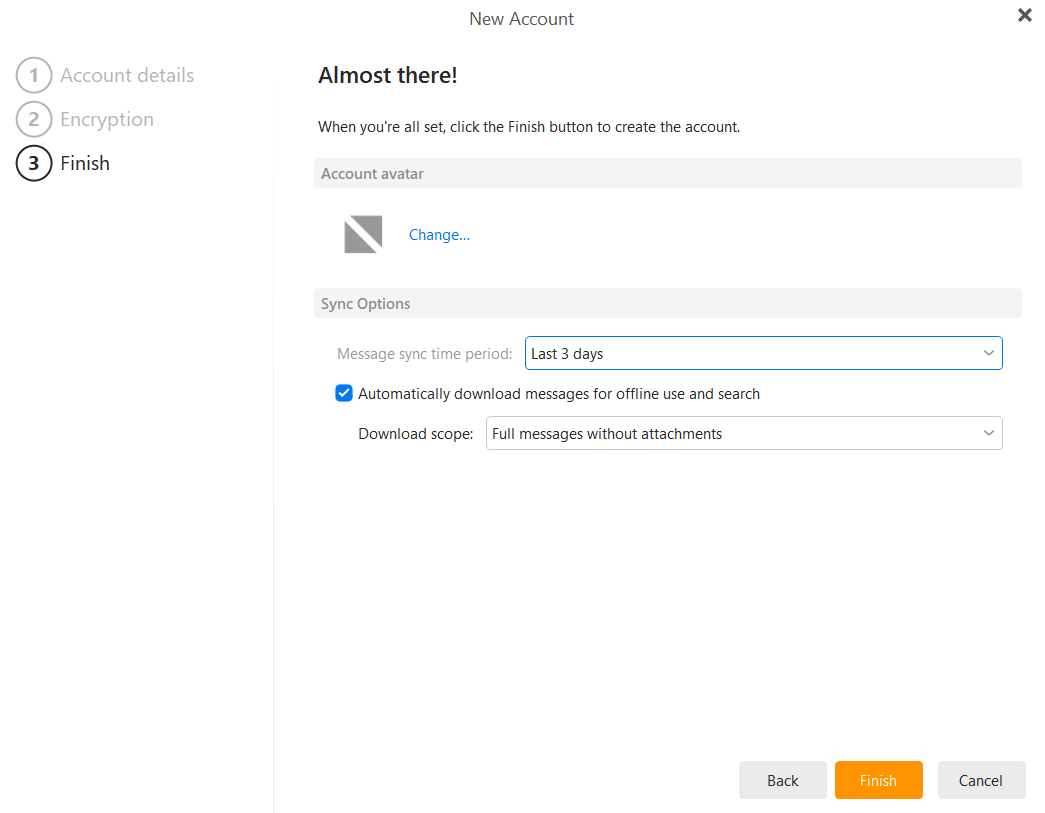
- Choose your sync options and click Finish.
- Enter your mailbox password and click OK.
Option 2: Manual Configuration
- Open eM Client.
- Go to Menu > Accounts.
- Click Add Account.
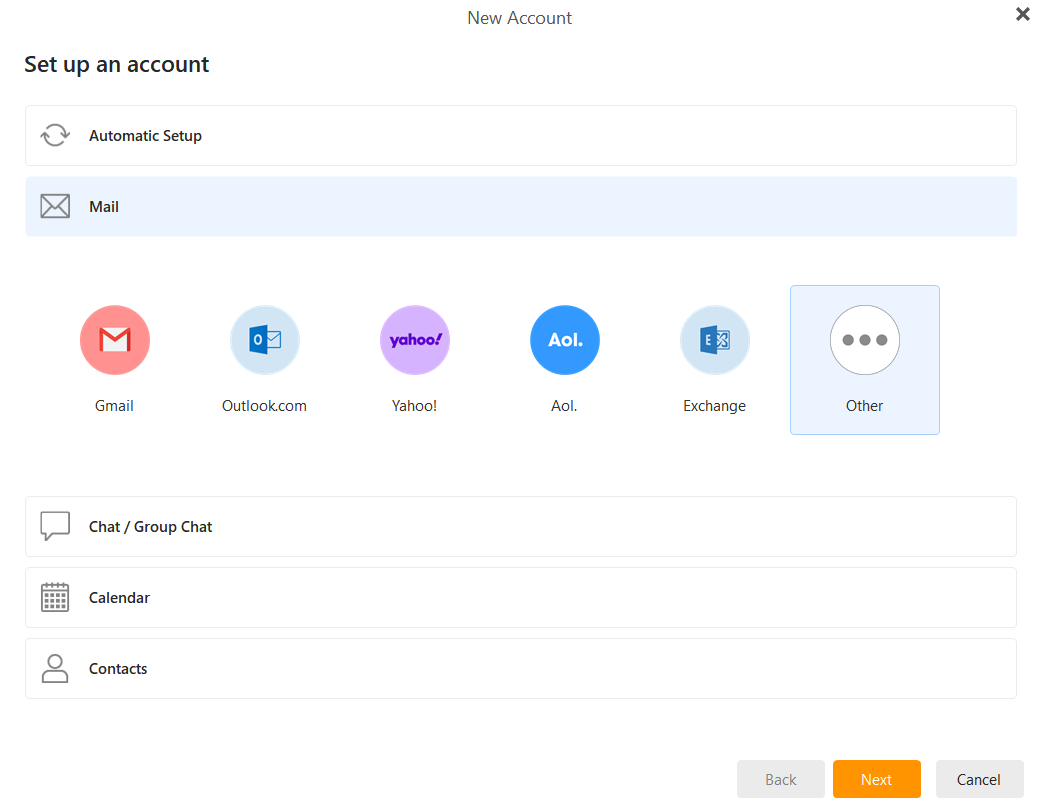
- Click the Mail tab.
- Select Other and click Next.
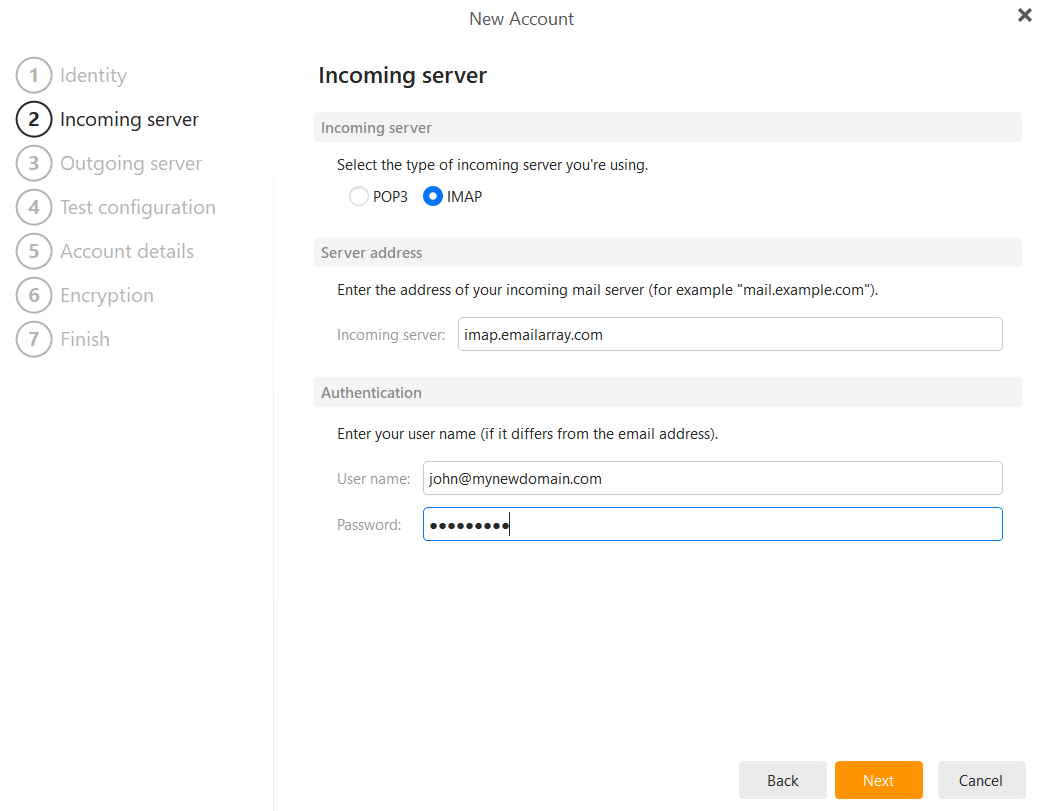
- For incoming mail, use:
- Protocol:
IMAP - Hostname:
imap.emailarray.com - Username: your full email address
- Password: your mailbox password
- Port:
993 - Security:
SSL/TLS
- Protocol:
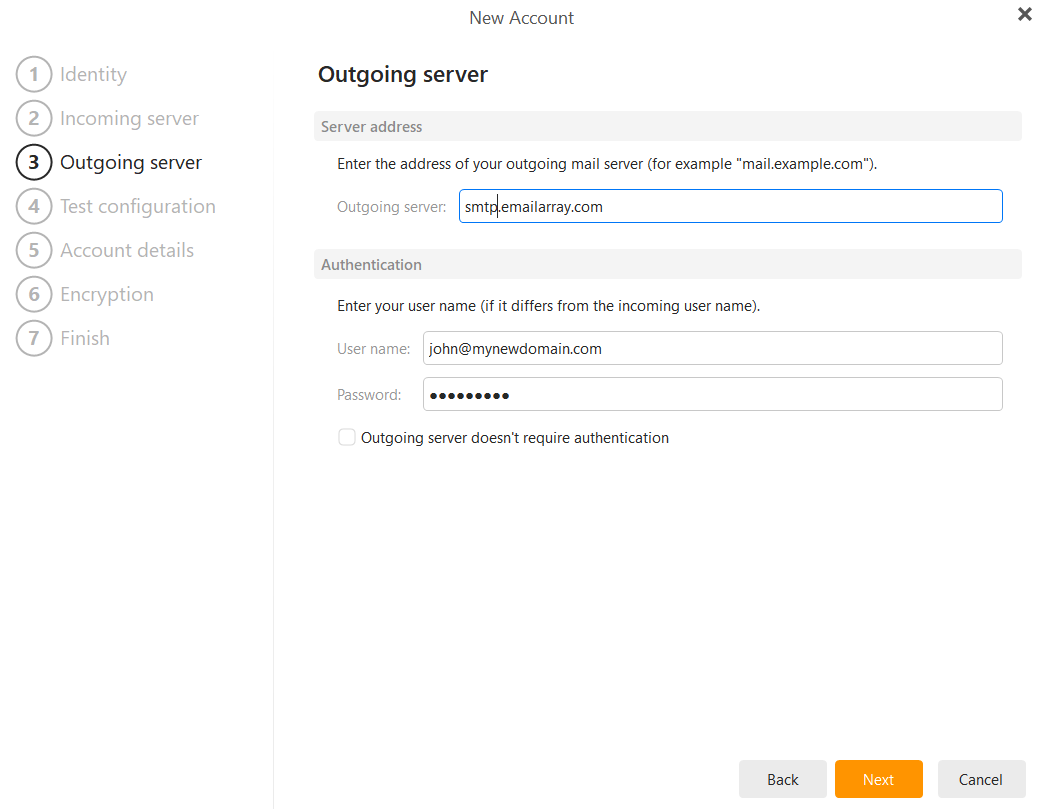
- For outgoing mail, use:
- Hostname:
smtp.emailarray.com - Username: your full email address
- Password: your mailbox password
- Port:
465 - Security:
SSL/TLS
- Hostname:
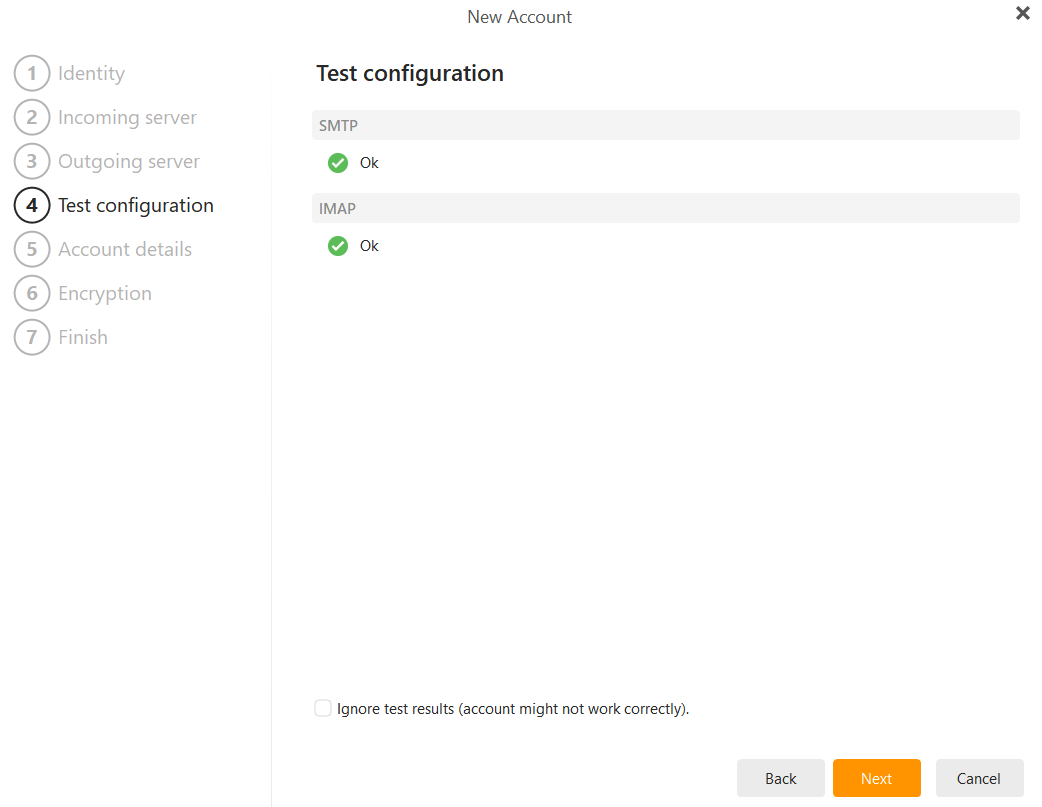
- Let eM Client test the connection.
- When both IMAP and SMTP show OK, click Next.
- Enter your sender name and account name.
- Choose Continue without encryption unless you use PGP.
- Choose your sync period and click Finish.